Latest
Vike SSR Rendering
Nov 11, 2023
Re-Engineering the OM617 Glow Plug Relay
Nov 04, 2023
Vike SSR Rendering
November 11, 2023
Topics: Vite, Vike, SSR, SEO, Firebase
Note: Later on in this guide, you'll have to add a billing method and change your newly created project to the "Blaze" plan. If you don't want to perform this, the SSR function won't be enabled.
Gitlab repo of this example is here... https://github.com/gonesurfing/vike-ssr
I've been using Firebase as a hosting tool for https://pinpointsurf.com for the last couple of years. The site is an SPA, utilizing the react set of tools and routing. While this works well for the highly dynamic nature of the applicaiton, it poses considerable challenges for search engine optimization (SEO). While googlebot will render the JS within the page, it does so very infrequently. It may only pass the site every couple of weeks, and only updates a few pages each time. Not really what we want if we're going to jump in search rankings. Showing google fast, fresh data should help ranking, while old infrequently updated data hurts.
A short term solution has been to use puppeteer to render the page if the request user-agent is "googlebot" or one of the other spiders. This has a few issues:
1) The app makes extensive use of mapbox-gl-js, and this runs client side only. Not rendering the map isn't currently an option as all my chart data for surf height and quality comes from within the mapbox application.
2) Because the application has to fully render the mapbox map inside of headless Chrome, it is sloooooow on a server and takes a lot of memory.
3) We have to run a non-cached firebase function to check if the user-agent is a bot, or a normal user request. Becaues of the way firebase works, we have to either pass the bot request to another function and wait for the return, or return index.html immediately. If the firebase function's index.html isn't updated when the bundler changes names, it will break the site. This also means we can't make use of CDN caching.
So to address this, we need to somehow accomplish a few things. The first, is to get an example Vite/Vike site up and working with Firebase. The logical place to start is to create a vike scaffold for the project. We'll use the project name "vike-ssr".
% npm init vike@latest
✔ Project name: · vike-ssr

Scaffolding project in /.../vike-ssr...
✔ Select a boilerplate: · react
The script tells us the next steps:
cd vike-ssr/
  npm install (or pnpm install / yarn install)
  npm run dev (or pnpm run dev / yarn dev)
Then were going to initialize firebase in our new project, and create a project. You'll need to have firebase CLI tools installed already, and be logged in to your account. For this, I'm going to use "vike-ssr" again as the project name, but since it has to be unique you'll have to modify this for your own project. Also, we're only going to initialize hosting and functions in the init program.
vike-ssr % firebase init

     ######## #### ########  ######## ########     ###     ######  ########
     ##        ##  ##     ## ##       ##     ##  ##   ##  ##       ##
     ######    ##  ########  ######   ########  #########  ######  ######
     ##        ##  ##    ##  ##       ##     ## ##     ##       ## ##
     ##       #### ##     ## ######## ########  ##     ##  ######  ########

You're about to initialize a Firebase project in this directory:

  /.../vike-ssr

? Which Firebase features do you want to set up for this directory? Press Space to select features, then Enter to
confirm your choices. Functions: Configure a Cloud Functions directory and its files, Hosting: Configure files for
 Firebase Hosting and (optionally) set up GitHub Action deploys

=== Project Setup

First, let's associate this project directory with a Firebase project.
You can create multiple project aliases by running firebase use --add,
but for now we'll just set up a default project.

? Please select an option: Create a new project
i  If you want to create a project in a Google Cloud organization or folder, please use "firebase projects:create" \
instead, and return to this command when you've created the project.
? Please specify a unique project id (warning: cannot be modified afterward) [6-30 characters]:
 vike-ssr
? What would you like to call your project? (defaults to your project ID)
✔ Creating Google Cloud Platform project
✔ Adding Firebase resources to Google Cloud Platform project

🎉🎉🎉 Your Firebase project is ready! 🎉🎉🎉

Project information:
   - Project ID: vike-ssr
   - Project Name: vike-ssr

Firebase console is available at
https://console.firebase.google.com/project/vike-ssr/overview
i  Using project vike-ssr (vike-ssr)

=== Functions Setup
Let's create a new codebase for your functions.
A directory corresponding to the codebase will be created in your project
with sample code pre-configured.

See https://firebase.google.com/docs/functions/organize-functions for
more information on organizing your functions using codebases.

Functions can be deployed with firebase deploy.

? What language would you like to use to write Cloud Functions? JavaScript
? Do you want to use ESLint to catch probable bugs and enforce style? No
✔  Wrote functions/package.json
✔  Wrote functions/index.js
✔  Wrote functions/.gitignore
? Do you want to install dependencies with npm now? Yes

added 537 packages, and audited 538 packages in 17s

52 packages are looking for funding
  run `npm fund` for details

found 0 vulnerabilities

=== Hosting Setup

Your public directory is the folder (relative to your project directory) that
will contain Hosting assets to be uploaded with firebase deploy. If you
have a build process for your assets, use your build's output directory.

? What do you want to use as your public directory? dist
? Configure as a single-page app (rewrite all urls to /index.html)? No
? Set up automatic builds and deploys with GitHub? No
✔  Wrote dist/404.html
✔  Wrote dist/index.html

i  Writing configuration info to firebase.json...
i  Writing project information to .firebaserc...

✔  Firebase initialization complete!
After completing the init dialog, you should have an initialized firebase project. First we're going to need to add some stuff to our firebase.json. Make sure the key under "hosting" to points to the client code. For Vike, this is "dist/client".
{
  "hosting": {
    "public": "dist/client",
...
Then, we need to point all the http hosting requests to our firebase function. We're going to call it "ssr".
"rewrites": [
      {
        "source": "**",
        "function": "ssr"
      }
    ]
The last part we have to add is for pre-deploy to move the dist directory into our functions folder. Note: If you are using the firebase emulator locally, this predeploy step won't happen automatically. You'll have to run these commands from the command line for things to remain synced.
"predeploy": [
        "rm -rf functions/dist",
        "cp -r dist functions"
      ]
Now we can add our rendering function "ssr" to our firebase functions. First, change to the functions directory and install a few node packages. Otherwise, the firebase function will crash at runtime.
cd functions \
   npm install vike react react-dom prop-types
And finally we can add our rendering function. This will render the site's HTML, and send it back to the client in the response. Copy this code, and paste it in functions/index.js
const {onRequest} = require("firebase-functions/v2/https");
const logger = require("firebase-functions/logger");
// see: https://vite-plugin-ssr.com/importBuild.cjs
require("./dist/server/importBuild.cjs");
const {renderPage} = require("vike/server");

// Vike middleware.

exports.vikeRender = onRequest(async (request, response) => {
  const pageContextInit = {
    urlOriginal: request.originalUrl,
  };
  const pageContext = await renderPage(pageContextInit);

  if (!pageContext.httpResponse) {
    logger.info(pageContext.httpResponse, request.originalUrl);
    response.send(null);
  } else {
    const {body, statusCode, headers, earlyHints} = pageContext.httpResponse;
    if (response.writeEarlyHints) {
      response.writeEarlyHints({link: earlyHints.map((e) => e.earlyHintLink)});
    }
    headers.forEach(([name, value]) => response.setHeader(name, value));
    response.status(statusCode);
    response.send(body);
  }
});
Now, we can deploy. If you enabled eslint during init, you can address the errors by excluding the functions/dist directory.
% cd ..
% nom run build
% firebase deploy
Woops. We get an error that says we have to be on the Blaze (pay-as-you-go).
Error: Your project vike-ssr must be on the Blaze (pay-as-you-go) plan to complete this command. \
   Required API artifactregistry.googleapis.com can't be enabled until the upgrade is complete.
So unfortunately you'll have to log into firebase console and add a billing method and change from "Spark" to "Blaze". Then re-run "firebase deploy". If everything worked correctly, you be ablel to go to the url shown and the end of deploy (Hosting URL: https://vike-ssr.web.app) and see the vite react screen.
FYI: The first time tried this process, I initialized the project in the Firebase console and then used it as an existing project in the CLI. After deploying, I was greeted with a "Forbidden" error in my browser. I'm not sure why the behavior is different for this workflow, but there is a way to resolve it. This is a little bit non-intuitive from a Firebase perspective, as it requires you to go through google-cloud-platform to resolve.
Navigate over to cloud console, and find your project at https://console.cloud.google.com. From there, go into the functions menu, but don't change anything there. You have to click from "Functions" through to the "Cloud Run" project that supplies the function. Under "Security" change Authentication to "Allow unauthenticated invocations". Confusing? Yes.
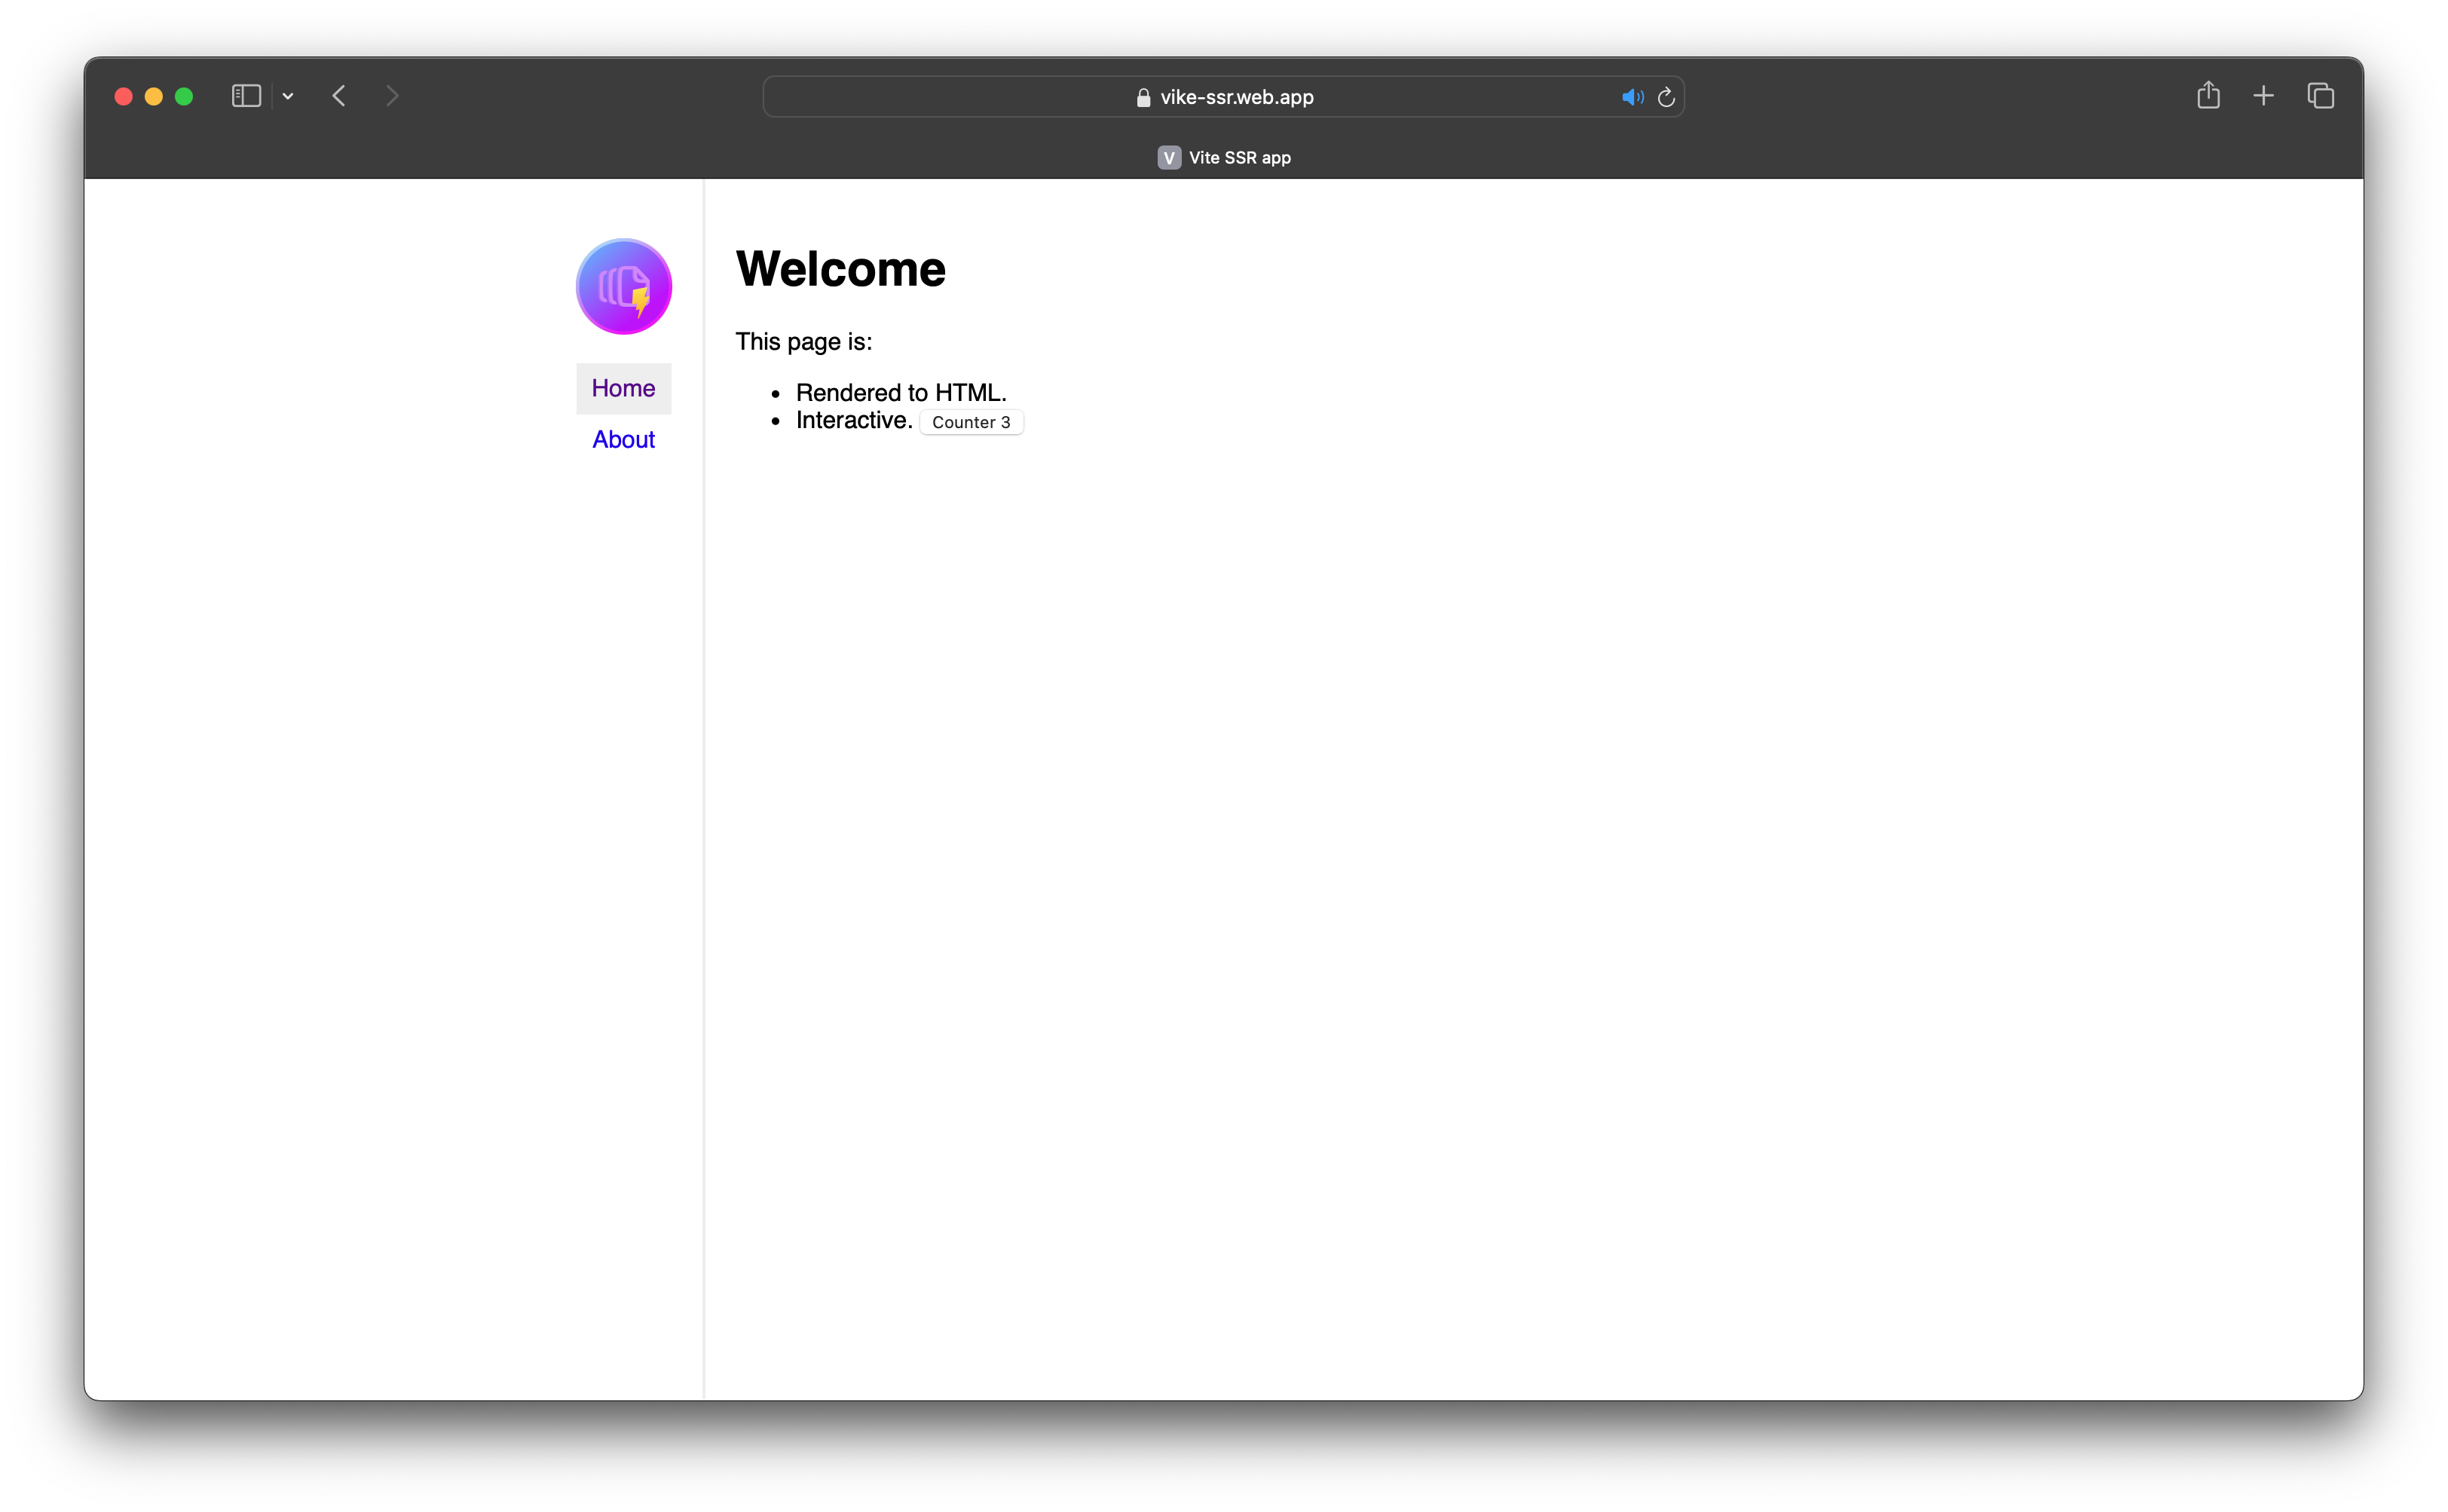
Now, you should finally be greeted by your freshly deployed Vike SSR application.